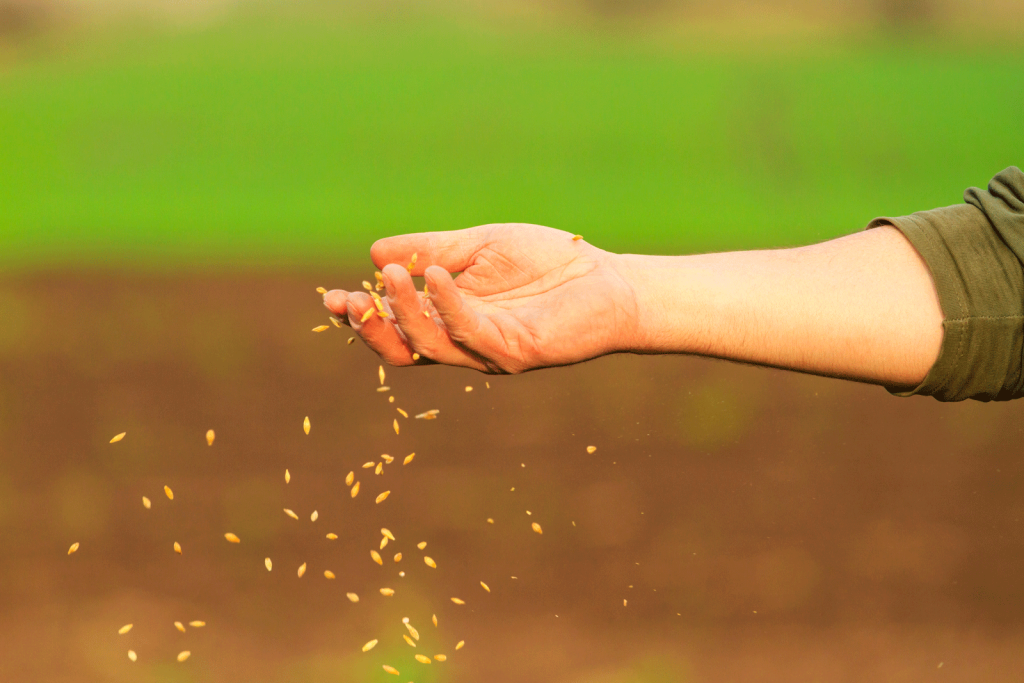
A step-by-step guide to preparing your land for a successful CRP planting, including soil testing, weed control, and best seeding practices.
Enrolling in the Conservation Reserve Program (CRP) is a smart move for landowners looking to restore habitat, improve soil and water quality, and receive financial benefits. But the long-term success of any CRP project hinges on one critical factor: proper site preparation.
At All Native Seed, we’ve seen firsthand how preparation can make or break a CRP planting. Follow this step-by-step guide to set your project up for success from the ground up.
Step 1: Evaluate Your Site and Set Objectives
Start by taking a close look at your land. What’s growing there now? Are there invasive species present? What’s the topography like?
- Identify your CRP practice type (e.g., CP1, CP2, CP42) and review the USDA and NRCS requirements.
- Walk the property to assess current vegetation and soil conditions.
- Establish your goals—pollinator habitat, erosion control, wildlife habitat, or a combination.
Understanding your site and your objectives will inform every step that follows.
Step 2: Conduct a Soil Test
Healthy soil is the foundation of successful planting. A simple soil test will tell you what you’re working with and if any amendments are needed.
- Test for pH, organic matter, and nutrient levels.
- Native grasses typically prefer a pH between 6.0 and 7.0.
- Fertilizer is generally not recommended for native plantings, as it can encourage weed growth over native seedlings.
Your local extension office or soil testing lab can help interpret results and suggest adjustments if needed.
Step 3: Control Weeds and Remove Existing Vegetation
Unwanted vegetation and invasive species are one of the biggest threats to CRP success. Controlling them before planting is essential.
- Apply a non-selective herbicide (like glyphosate) in late summer or early fall.
- Repeat application after 4–6 weeks if regrowth occurs.
- Consider prescribed burning or light disking (where allowed) to remove dense thatch and reduce the weed seed bank.
A clean slate gives your native seeds the best chance to establish without competition.
Step 4: Prepare a Firm, Clean Seedbed
A good seedbed is smooth, firm, and free of debris. Whether you’re drill seeding or broadcasting, seed-to-soil contact is critical.
- Avoid overly fluffy or compacted soil.
- Roll or pack the soil before and after broadcasting to improve contact.
- Remove rocks, clumps, and leftover residue from prior crops.
Native seeds are small and sensitive. Planting them in the right conditions helps improve germination rates.
Step 5: Select the Right Seeding Method
Choosing the best seeding technique depends on your land and equipment.
- No-till native seed drills offer the best precision, placing seeds at the correct depth.
- Broadcast seeding can be effective when followed by rolling or cultipacking.
- Seed depth should be no more than ¼” to ½” – many native species need light to germinate.
At All Native Seed, our seed mixes are specially designed for CRP compliance and include BOOST treatment to enhance germination and early growth.
Step 6: Time Your Planting Wisely
Planting at the right time increases establishment success.
- Warm-season grasses: Late spring to early summer (when soil temps are above 60°F).
- Cool-season grasses: Late summer to early fall for fall root development.
- Avoid planting before heavy rain or drought periods.
Planning around seasonal conditions helps prevent seed loss and ensures healthier establishment.
Step 7: Maintain and Monitor
The first year is all about establishment, not perfection.
- Mow when weeds reach 12–18 inches, keeping mower height at 6–8 inches.
- Avoid using herbicides in the first growing season unless spot-spraying aggressive invasives.
- Keep an eye on your planting’s progress and take photos to track growth and for documentation.
With good preparation and early care, native plantings typically take off in year two and reach maturity in year three.
Set Your CRP Project Up for Success
Proper site prep isn’t just a best practice, it’s a requirement for success. When you start strong, your native grasses and wildflowers have a much better chance to thrive and meet the goals of your CRP contract.
At All Native Seed, we’re here to support every step of your project with:
- High-quality, tested native seed mixes
- BOOST-treated seed for better establishment
- Guidance on CRP compliance and planting best practices
Need Help Getting Started?
Contact All Native Seed today for expert support and seed recommendations tailored to your region and CRP goals. Let’s build a better, more resilient landscape, starting with your soil.
