
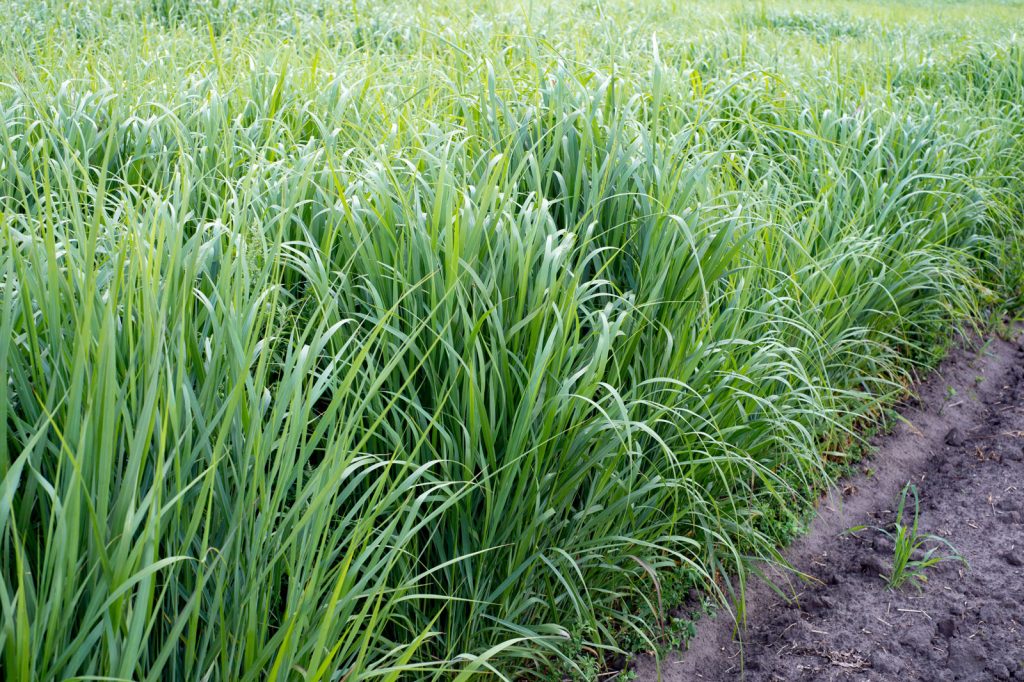
Many landowners enrolled in Conservation Reserve Program (CRP) projects are making the switch from cool-season grasses (CSGs) to warm-season grasses (WSGs) to improve the resilience, biodiversity, and long-term success of their conservation efforts. While cool-season grasses provide initial ground cover, warm-season grasses are better suited for long-term soil health, drought resistance, and wildlife habitat.
If you’re considering transitioning from cool-season to warm-season grasses in your CRP project, this guide will walk you through the steps to ensure a smooth and successful conversion.
Why Transition to Warm-Season Grasses?
Warm-season grasses (WSGs) offer several advantages over cool-season grasses (CSGs) in CRP plantings:
Drought Resistance – WSGs have deeper root systems, making them more resilient to dry conditions and improving soil moisture retention.
Soil Health – WSGs enhance soil stability and nutrient cycling, reducing erosion and improving organic matter over time.
Wildlife Habitat – Native WSGs provide better cover, nesting sites, and food sources for pollinators, birds, and other wildlife.
Reduced Maintenance – Unlike some CSGs that require frequent mowing or reseeding, WSGs thrive with minimal upkeep, especially when properly established.
Because of these benefits, USDA often encourages transitioning CRP lands from cool-season to warm-season grasses, particularly in prairie restoration and habitat improvement projects.
Steps to Successfully Transition from Cool-Season to Warm-Season Grasses
Step 1: Assess Your Current CRP Stand
Before making the switch, evaluate your current stand of cool-season grasses to determine how much needs to be removed and which WSG species will be best suited for your land.
- Identify existing CSG species and their density.
- Conduct soil tests to check for pH, nutrients, and compaction issues.
- Consider USDA CRP requirements for your specific contract.
If the CSG stand is well-established, additional removal steps may be necessary before seeding WSGs.
Step 2: Plan Your Site Preparation Strategy
Proper site preparation is crucial for successfully converting from CSGs to WSGs. There are two primary methods for removing cool-season grasses:
1. Herbicide Treatment (Best for large-scale conversions)
- Apply a non-selective herbicide (such as glyphosate) in the fall or early spring to kill existing vegetation.
- Conduct a second herbicide application about 4-6 weeks later for full effectiveness.
- Avoid planting too soon after herbicide application—wait for proper breakdown.
2. Mechanical Removal (Best for small plots or organic approaches)
- Use controlled burning or light tilling to reduce CSG density.
- Mowing may also help weaken CSGs, but additional steps may be needed.
Step 3: Choose the Right Warm-Season Grasses
Selecting the right warm-season grasses is key to long-term success in your CRP project. Consider these native WSG species based on your region and project goals:
Big Bluestem (Andropogon gerardii) – Excellent for erosion control, tall wildlife cover, and drought resistance.
Switchgrass (Panicum virgatum) – Highly adaptable, deep-rooted, and provides excellent nesting habitat.
Indiangrass (Sorghastrum nutans) – Offers high wildlife value and pairs well with Big Bluestem.
Little Bluestem (Schizachyrium scoparium) – Ideal for drier sites and pollinator-friendly habitats.
Eastern Gamagrass (Tripsacum dactyloides) – Tolerates wet soils and provides excellent forage.
At All Native Seed, we offer high-quality, regionally adapted WSG seed mixes to ensure your transition is successful.
Step 4: Seed Properly for Strong Establishment
Once site preparation is complete, proper seeding techniques will maximize your warm-season grass germination rates:
Best Time to Plant – Late spring to early summer when soil temperatures reach 60°F or higher (WSGs need warm soil to germinate).
Seeding Method – Use a native seed drill for optimal seed-to-soil contact or a broadcast seeder followed by a light rolling.
Planting Depth – Plant seed at 1/8 to ¼ inch depth, ensuring good soil coverage but avoiding planting too deep.
Seed-to-Soil Contact – Firm the soil with a roller or cultipacker to ensure good moisture retention.
Step 5: Manage for Successful Establishment
The first 1-2 years after planting are critical for WSG establishment. Follow these maintenance strategies:
Weed Control – Spot-treat invasive weeds with herbicides or mow at a high setting (~10 inches) to suppress competition.
Monitor Growth – Expect slow initial growth—WSGs focus on root development in the first year.
Use Prescribed Burns (Optional) – After 2-3 years, controlled burns can improve stand quality and reduce invasive species.
Pro Tip: Unlike CSGs, WSGs take longer to establish but require less maintenance once fully rooted. Be patient and allow them to develop naturally.
Partner with All Native Seed for a Successful Transition
At All Native Seed, we specialize in high-quality native grass and wildflower seed for CRP projects. Whether you need expert advice, tested seed mixes, or support in transitioning from cool-season to warm-season grasses, we’re here to help.
With over 400,000 acres of successful plantings, we understand what it takes to establish resilient, productive landscapes.
Ready to Make the Switch?
Transitioning from cool-season to warm-season grasses offers long-term benefits for soil health, wildlife habitat, and conservation success. By following these steps and working with a trusted seed provider, you can maximize your CRP project’s potential.
Contact All Native Seed today to get started with high-quality WSG seed mixes tailored to your region and conservation goals!